


Masterclass in End of Tenancy Cleaning: Tenant Edition
Posted on 27/08/2025
Masterclass in End of Tenancy Cleaning: Tenant Edition
Are you about to move out and want to secure your full deposit back? Learn the art and science of end of tenancy cleaning in this comprehensive masterclass crafted exclusively for tenants. Read on for expert step-by-step guidance, pro tips, and the ultimate checklist to delight your landlord or letting agent.
What is End of Tenancy Cleaning?
End of tenancy cleaning refers to the thorough deep cleaning of a rented property at the end of your lease or tenancy. This process ensures the property is restored to its original cleanliness and condition - often stipulated by your rental agreement. Leaving the accommodation spotless isn't just polite; it is crucial for getting your full security deposit returned and keeping positive references for future lets.
Why is End of Tenancy Cleaning Important for Tenants?
- Deposit Recovery: Most landlords or agents hold back cleaning-related deductions from deposits - the number one cause of disputes.
- Positive References: A spotless clean property increases chances of getting a glowing reference for your next home.
- Contract Compliance: Failure to carry out proper end of lease cleaning could breach your contract, leading to lost money or even legal issues.
- Peace of Mind: Knowing you left the property in top shape provides satisfaction and closes the tenancy on good terms.
Essential Preparations for a Successful Tenancy Cleaning
Preparation is key before starting your end of tenancy clean. Here are preparatory steps every tenant should follow:
- Check Your Tenancy Agreement: Every lease is different. Review your contract for detailed cleaning obligations - some require professional carpet cleaning or window cleaning.
- Inventory Report: Reference the property's move-in inventory (condition) report. Ensure each area matches its original state.
- Gather Supplies: Stock up on eco-friendly detergents, microfiber cloths, mops, sponges, rubber gloves, and specialist cleaners.
- Book Utilities: Ensure water, electricity, and heating are on for effective cleaning and drying.
- Schedule Smartly: Clean after all furniture and belongings are removed for best results.
The Ultimate End of Tenancy Cleaning Checklist
To ensure your clean meets the "professional standard" expected by landlords and agents, follow this room-by-room tenancy clean checklist:
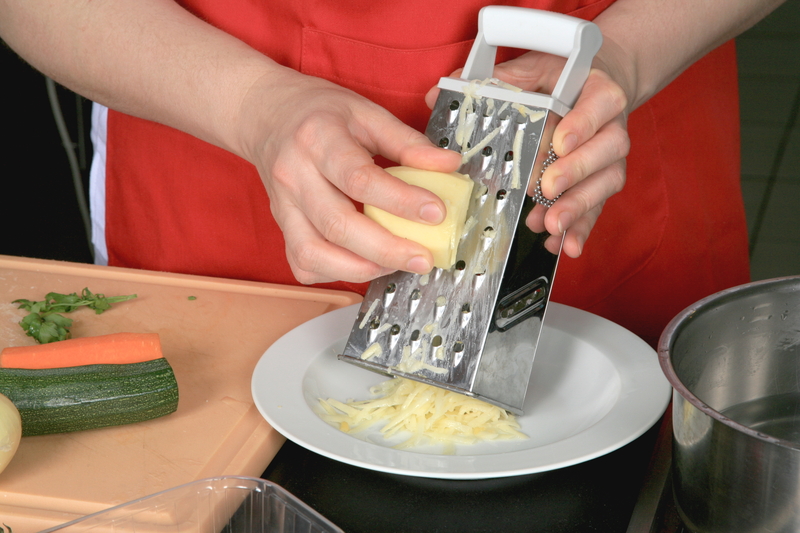
1. Kitchen Cleaning Mastery
- Oven and Hob: Remove racks and trays. Deep clean with a degreasing solution to eliminate burnt-on stains.
- Fridge/Freezer: Defrost and disinfect, ensuring it is mould-free and odourless.
- Microwave and Small Appliances: Descale and sanitize all removable parts.
- Kitchen Cupboards and Drawers: Empty, vacuum crumbs, and wipe inside/outside doors. Remove any food debris or stains.
- Sinks and Taps: Remove limescale, polish chrome, and unblock drains.
- Worktops and Tiles: Disinfect and remove grease or marks.
- Floors: Sweep, mop, and scrub - don't overlook corners.
2. Bathroom Excellence
- Toilet: Disinfect bowl, seat, base, and cistern thoroughly.
- Shower, Bath, and Screen: Remove soap scum, limescale, and grime. Polish glass panels sparkly clean.
- Sinks and Taps: De-limescale and polish.
- Tiles and Grout: Scrub mould or dirt; use a specialist grout cleaner for stubborn areas.
- Mirrors and Glass: Use streak-free cleaner and buff to shine.
- Extractor Fans: Remove dust and debris, check for proper function.
- Floors: Mop and sanitize, ensuring no hair or debris remains.
3. Living Room, Bedrooms, and Hallways
- Walls and Skirting Boards: Wipe down to remove marks or scuffs.
- Doors and Handles: Disinfect handles, polish surfaces.
- Windows (internal): Clean glass, frames, and sills.
- Carpets and Floors: Vacuum all flooring; steam clean or shampoo carpets if required.
- Wardrobes and Drawers: Empty and wipe inside and out.
- Curtains and Blinds: Dust, wash, or vacuum as per fabric care instructions.
- Light Switches and Fixtures: Wipe and disinfect.
4. Additional Areas Often Overlooked
- Radiators and Vents: Dust between panels, wipe surface.
- Plug Sockets: Dust and wipe gently (with power off if wet cloth).
- Ceilings and Light Fittings: Remove cobwebs, dust bulbs/shades.
- Lofts, Garages, Balconies: Sweep out, remove all belongings and waste.
Remember: Your property must be cleaned to a "professional standard" - which means no traces of dirt, dust, limescale, or stains anywhere!
DIY End of Tenancy Cleaning vs. Professional Services
Tenants often ask: Should I clean myself or book a specialist end of tenancy cleaning company? The answer depends on:
- Your Cleaning Skills & Time: A thorough end of tenancy cleaning can take 6-12 hours. If you're meticulous and have help, DIY is achievable.
- Property Size & Condition: Big or neglected properties may be easier with professionals.
- Landlord Requirements: Some contracts insist on a professional cleaning receipt for deposit release.
- Budget: Pro cleaners cost more, but can be guaranteed with re-cleaning offers.
Tip: Photograph your completed clean as evidence, especially if cleaning DIY!
Pro Tips for Impressive Move-Out Cleaning Results
- Work Top-to-Bottom: Start cleaning from ceilings and shelves downward - dust and dirt fall as you go.
- Use the Right Products: Don't skimp on limescale remover, degreaser, or non-scratch sponges for tough surfaces.
- Mind Odors: Deal with smells in fridges, carpets, and rubbish bins - use baking soda, vinegar, or odor neutralizing sprays.
- Don't Forget Furnished Items: If the house came with sofas, beds, or appliances, they must all be as clean as when you moved in.
- Double-Check Hidden Spots: Behind furniture, under beds, kitchen unit plinths, extractor fans, and plug sockets are often missed.
What Landlords and Letting Agents Really Check
Most landlords and agents conduct a detailed check-out inspection. Some even use UV torches to detect stains! Here's what they scrutinize:
- Skirting boards and corners (for dust and spider webs)
- Oven, hob, extractors (degreased and sparkling?)
- Shower screens, taps, and tiles (no limescale or soap marks)
- Windows and sills (free of smears and dust?)
- Fridge, freezer, washing machine and dishwasher (no mold, food, or detergent stains)
- All furniture (moved and swept/vacuumed under, cushions lifted)
- Bins (emptied and cleaned out)
Pro Tip: On inspection day, open all cupboards and switch all lights on, so the property looks bright, fresh, and inviting.
Common Mistakes Tenants Make
- Rushing the Clean: A last-minute tidy up won't suffice for a professional standard.
- Missing Areas: Skipping extractor fans, grout, or oven trays commonly leads to partial deposit deductions.
- Trying to Hide Damage: Wear and tear is okay, but dirt or misuse is not. Own up to problematic areas.
- Not Checking Attics, Sheds, or Outdoor Areas: All spaces included in your lease must be left clean.
Frequently Asked Questions for Tenant End of Tenancy Cleaning
Do I Need Professional End of Tenancy Cleaning?
Not all landlords demand a receipt for professional end of tenancy cleaning, but if your contract specifies it, you must comply. Otherwise, tenants can DIY - as long as it meets the expected standard.
How Long Does an End of Lease Cleaning Take?
A studio or one-bed flat can take 4-6 hours, whereas a larger house may require a two-day effort. Teamwork or enlisting friends makes the job much easier and quicker!
Who Pays for End of Tenancy Cleaning?
Unless otherwise agreed, tenants are responsible for returning the property clean. If a professional cleaner is required after inspection, costs may be deducted from your deposit.
What if I Damage Something During Cleaning?
Accidents happen. Inform your landlord ASAP, and try to fix or replace the item before you move out. Transparency is always better than a cover-up.
Is It Worth Investing in End of Tenancy Cleaning Services?
For busy tenants or anyone daunted by deep-cleaning, professional end of tenancy cleaning companies offer peace of mind and a receipt for landlords. Prices vary depending on location and property size, but guarantee an expert, checklist-conforming result.
If you decide to hire a cleaning company, check:
- Are they insured and experienced in move-out cleans?
- Do they offer a re-clean if the property fails inspection?
- Do they provide a full checklist and receipt?
Final Step: The End of Tenancy Cleaning Walkthrough
Before handing over the keys:
- Do one last walkthrough with a fresh pair of eyes - or even invite a friend to inspect.
- Photograph each room, including inside appliances and cupboards, as record of your cleaning standard.
- Leave windows slightly open if possible for a couple of hours to air out the property.
- Make sure all rubbish and personal belongings are gone, including in outdoor spaces.
- Return all keys and alert your landlord/agent to cleaning completion.
Conclusion: Your End of Tenancy Cleaning Success
End of tenancy cleaning is a vital skill for every tenant who values full deposit return, great references, and stress-free moves. By following the comprehensive guide and master cleaning checklist above, you'll leave your rented home as you found it - perhaps even better! Whether you opt for DIY or professional help, meticulous cleaning is worth the effort. Say goodbye to your property on a high note and secure your financial and rental future.
Ready, set, clean! Use this end of tenancy cleaning masterclass as your secret weapon for moving success and deposit recovery.